Requires:

|
Create a new image with a transparent background. I'm working on a 500 x 500 image, but you can start with whatever size you're comfortable working with. Open your wood texture and minimize it or drag it out of the way, so that you'll have it ready when it comes time to use it. |
|
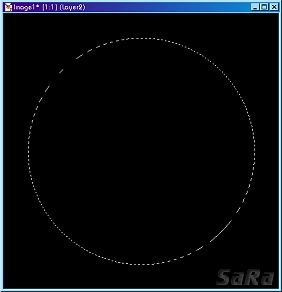
Create a new raster layer and fill with black. This is so it's easier to see what you're doing. You can change it to match the background of your website later. Then, create another new layer and use the selection tool (Selection Type Circle - Feather 0 - Antialias checked) make a nice sized circle. Do not deselect. |
|
|
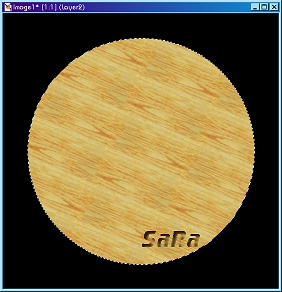
If your wood texture isn't open, open it now. After making sure you're on the top layer, flood fill your selection with your wood texture. (Flood Fill - Pattern and select your wood texture) You can fiddle with the settings if you want to. I've set mine to 150% the original size and given it an angle of 23. **Tip: If you resize the pattern, you may want to add a 0.2 - 0.8 gaussian blur to it. This will cover up some of the flaws.** Now you can close your wood image; we're done with it. |
|
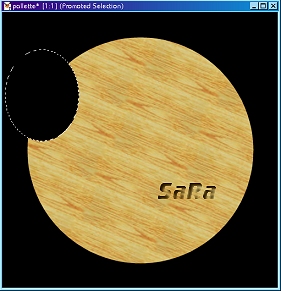
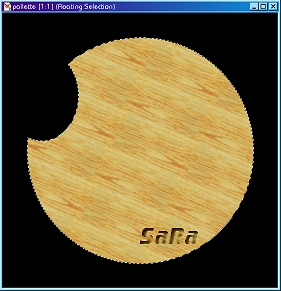
Change your selection tool to an ellipse, but keep the other settings (Selection Type Ellipse - Feather 0 - Antialias checked). Select an ellipse in the upper left part of your image, but make it so only some of it overlaps the wood circle. Hit the delete key and press Ctrl+D on your keyboard to deselect. Then press Ctrl+A and, with the selection tool, just click inside the wood. Your palette is now selected. |
|
|
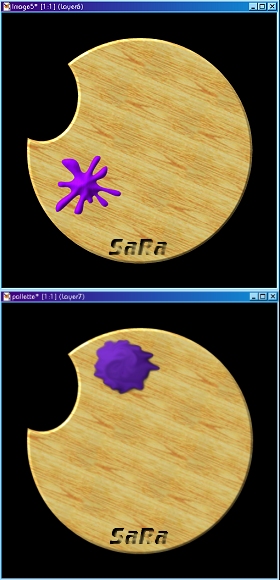
You have two options for this step. |
|
You have two choices for this step as well. |
|
|
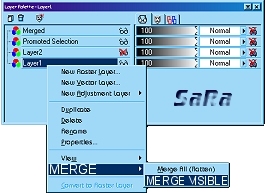
Hide the layer of black and merge the visible layers or change the black to another color or pattern and merge all. If you choose to not merge the black, you may have to drag it beneath the other layer. |
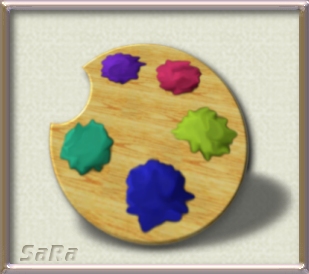
Ta-da! You now have a paint palette.